Workflows automate manual steps of spatial analysis. They’re especially useful when you need to repeat the same analysis across multiple delivery areas.
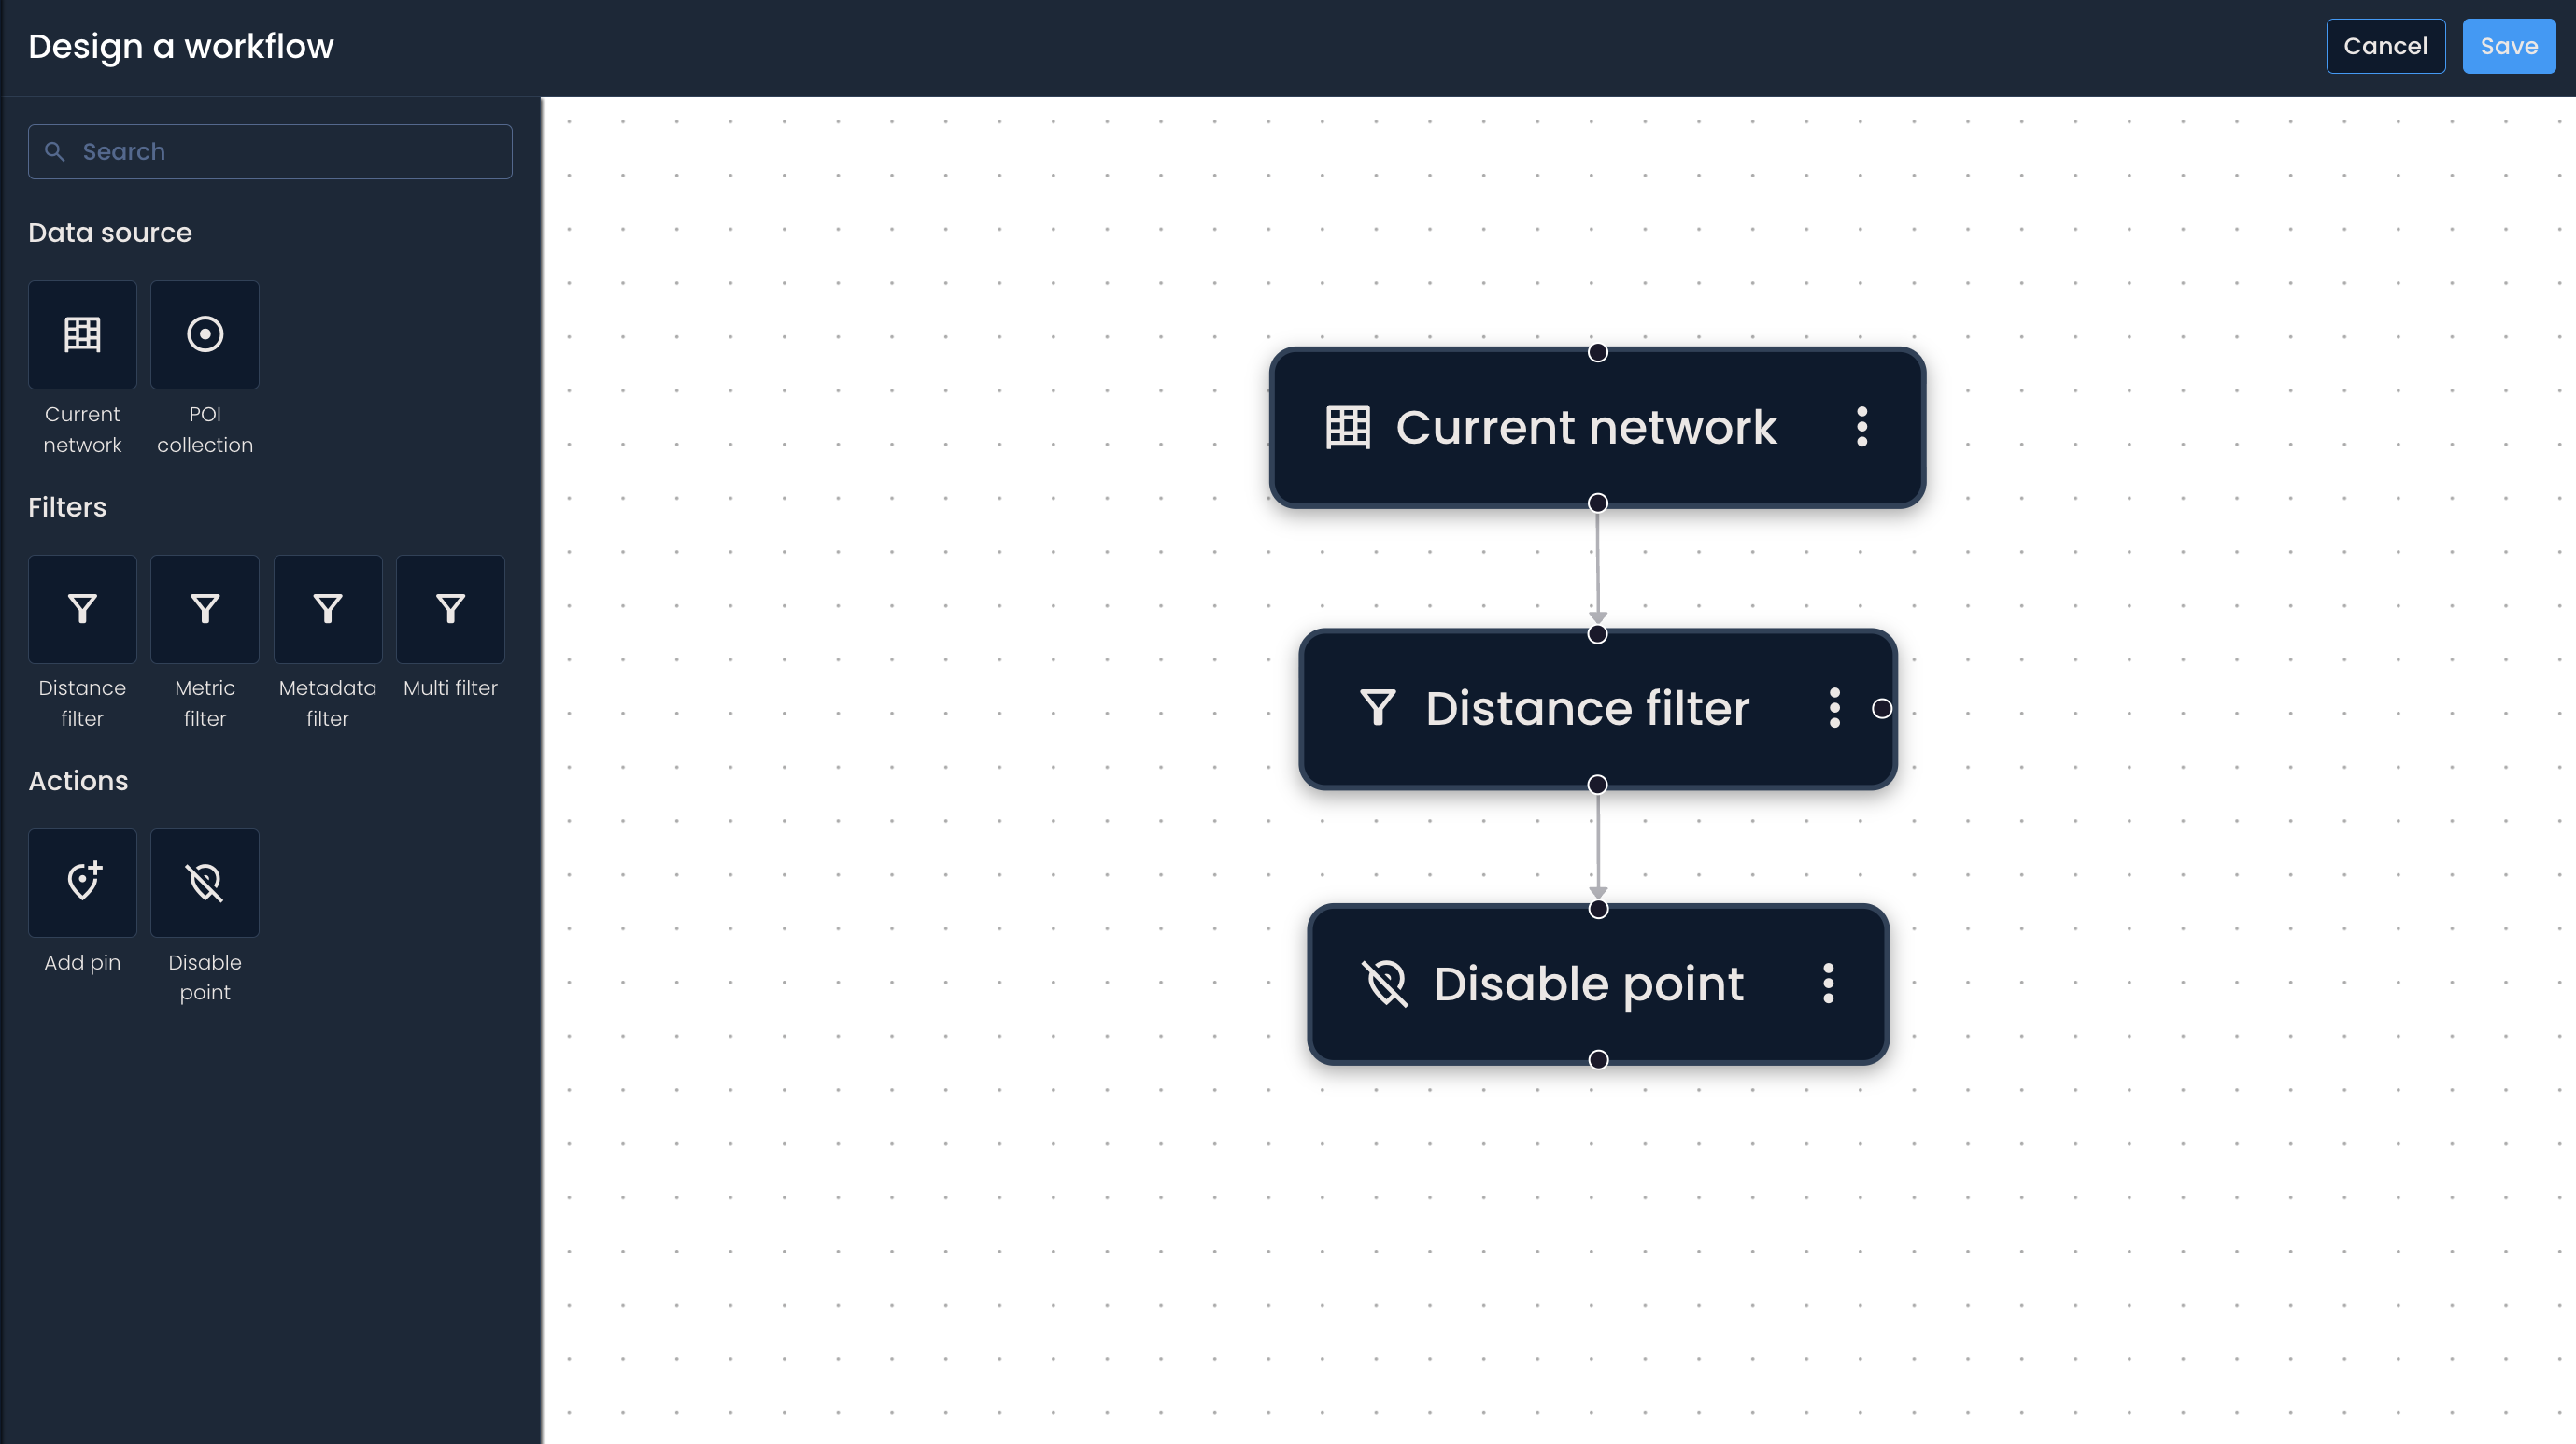
You can build workflows from the Manage workflows page. In build mode, you’ll work with two main areas:
Blocks panel (left): where you choose blocks to add to your workflow
Canvas (right): where you place, connect, and organize your blocks
The workflow canvas is the space where you build your workflow.
To move around, click, hold, and drag
You can adjust the zoom to magnify or shrink the blocks on the canvas
Workflows are built from three types of blocks:
Data sources: starting point of a workflow (the dataset)
Filters: narrow down points based on conditions
Actions: define what happens to the final set of points

Go to Manage workflows
Click Add new workflow
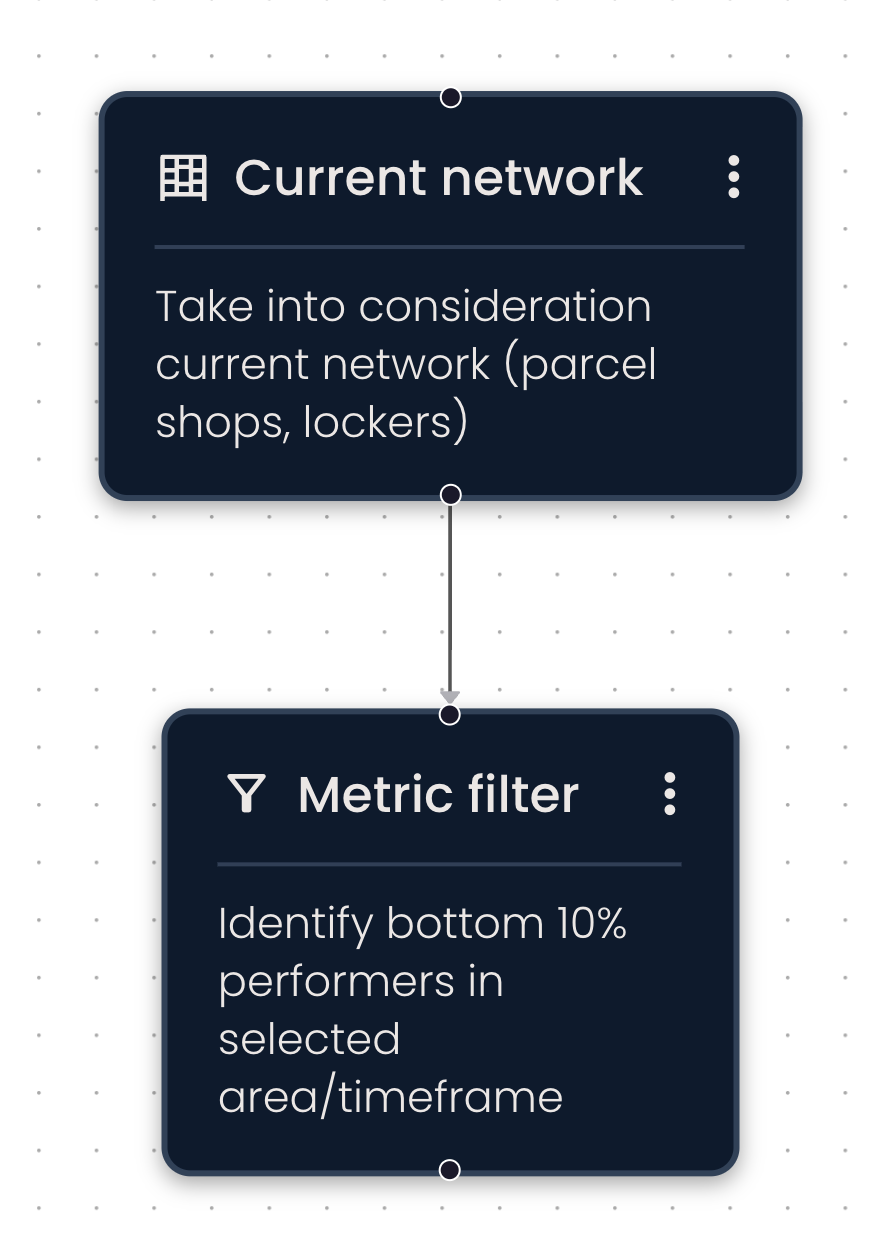
Every workflow starts with a data source.
In the Blocks panel, click the data source you want to start with (for example, Current network or POI collection).
The block appears on the canvas. Click it to open its configuration.
Set the Inputs—these define which dataset the workflow will use.
Example: If you choose Current network, you can include parcel lockers, parcel shops, or both.
Filters narrow down your dataset by applying conditions.
In the Blocks panel, click the filter you want to use.
Click the filter block on the canvas to configure its Inputs.
Repeat as needed to build the logic you want.
Action blocks define what the workflow does with the filtered results.
In the Blocks panel, click the action block you want to use.
Click the action block on the canvas to configure it (and optionally add a description).
Connect blocks
To connect blocks, drag a connection arrow from one block’s connection point to another block’s connection point (circle). The arrow direction shows how data flows through the workflow (start → end).
Delete a connection
Click the arrow between the two blocks, then press delete (backspace) on your keyboard.
Reorder blocks on the canvas
Click and drag blocks to reposition them on the canvas. (This changes layout, not logic. The logic depends on connections.)
Delete a block
Click the block’s ellipsis (⋮) → Delete, or select the block and press delete (backspace) on your keyboard.
Copy a block
Click the block’s ellipsis (⋮) > Make a copy. The copied block includes the same inputs.
When you’re done designing your workflow:
Click Save
Enter a workflow name
Add a workflow description explaining what the workflow automates end-to-end
Choose whether to Publish the workflow or keep it as a Draft
You can’t save a workflow until all blocks are complete and connected.
Published workflows are visible to all team members with access to Area analysis and Manage workflows (who will be able to edit them).
Draft workflows do not appear within Area analysis.
After saving, the workflow status appears in the upper-right corner as Draft or Published.
Go to the Geospatial analysis dashboard
Click Add new analysis and set up an Area analysis
Click Workflows
Select the workflow you want to run
Click Run
The results appear on the map and in a notification at the top of the screen.