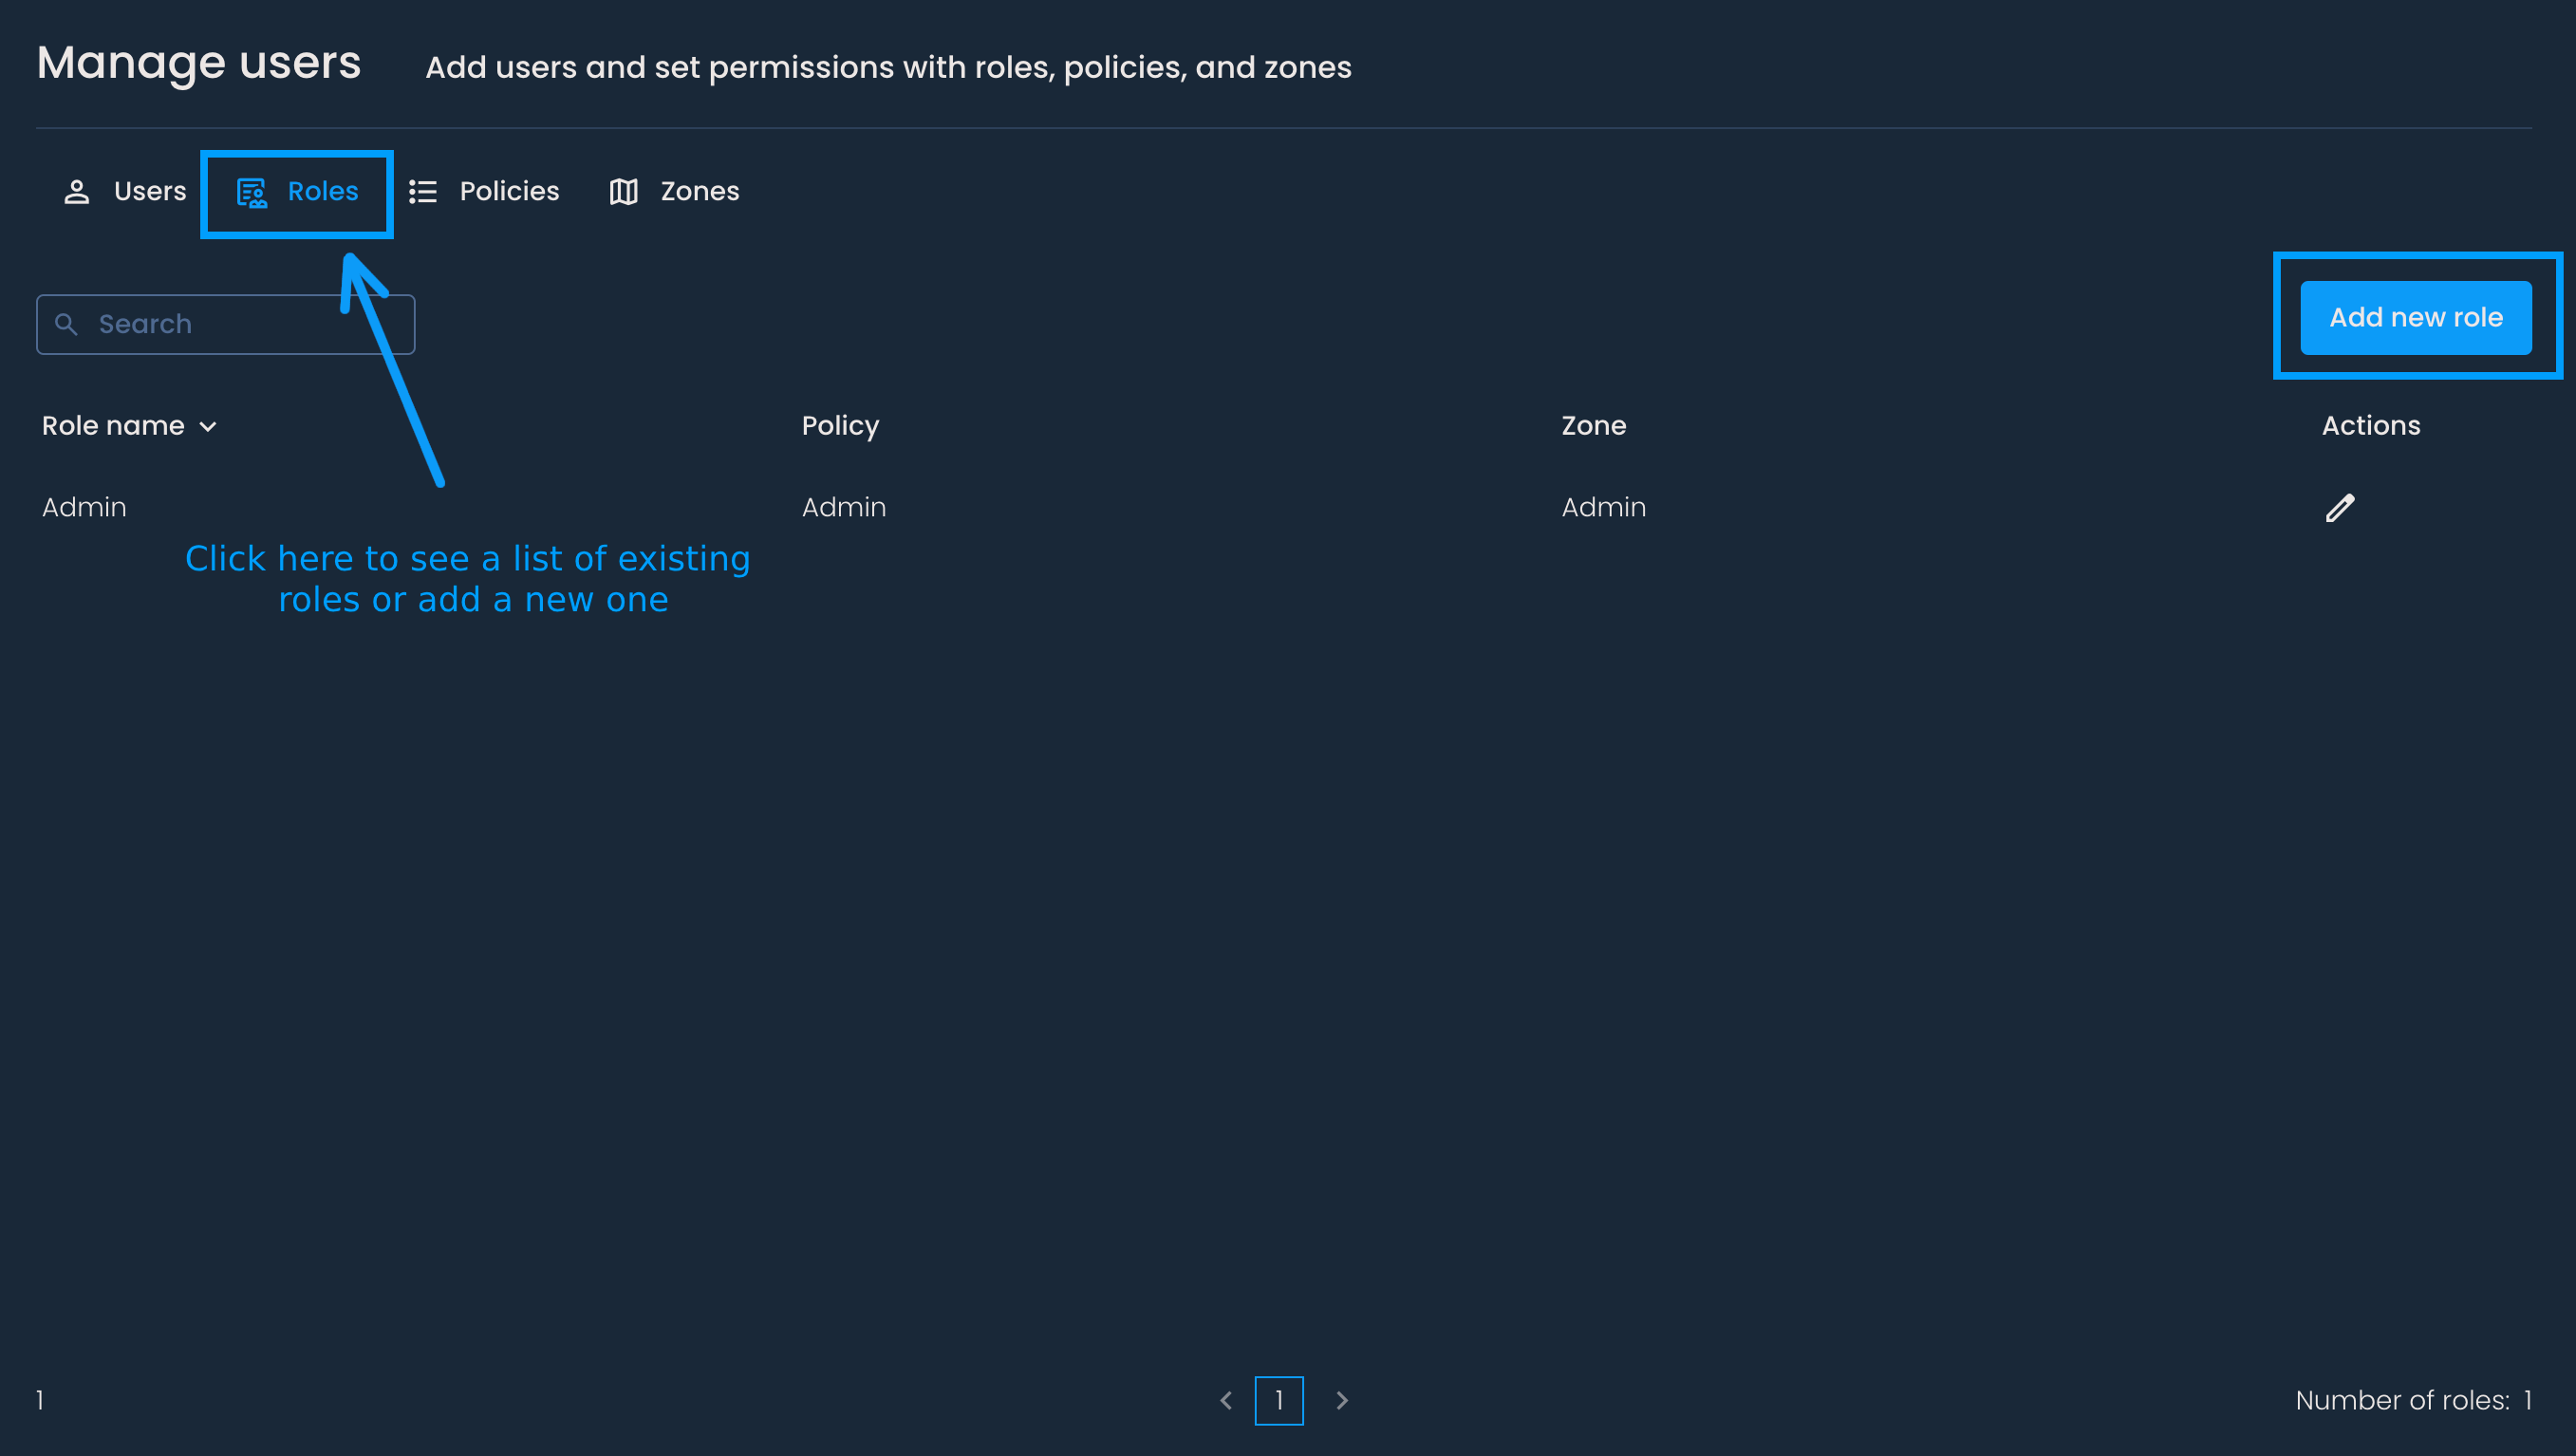
Roles are a set of predefined user permissions based on policies and zones.

To create a new role, go to the Manage users page. Click the Roles tab and then the Add new role button.
A menu will pop up. In the first input field, enter the name of the role. Below, you’ll be able to select an existing policy and zone. Then press Save.

The newly created role will be added to the list. You can now assign it to a user in the Users tab.
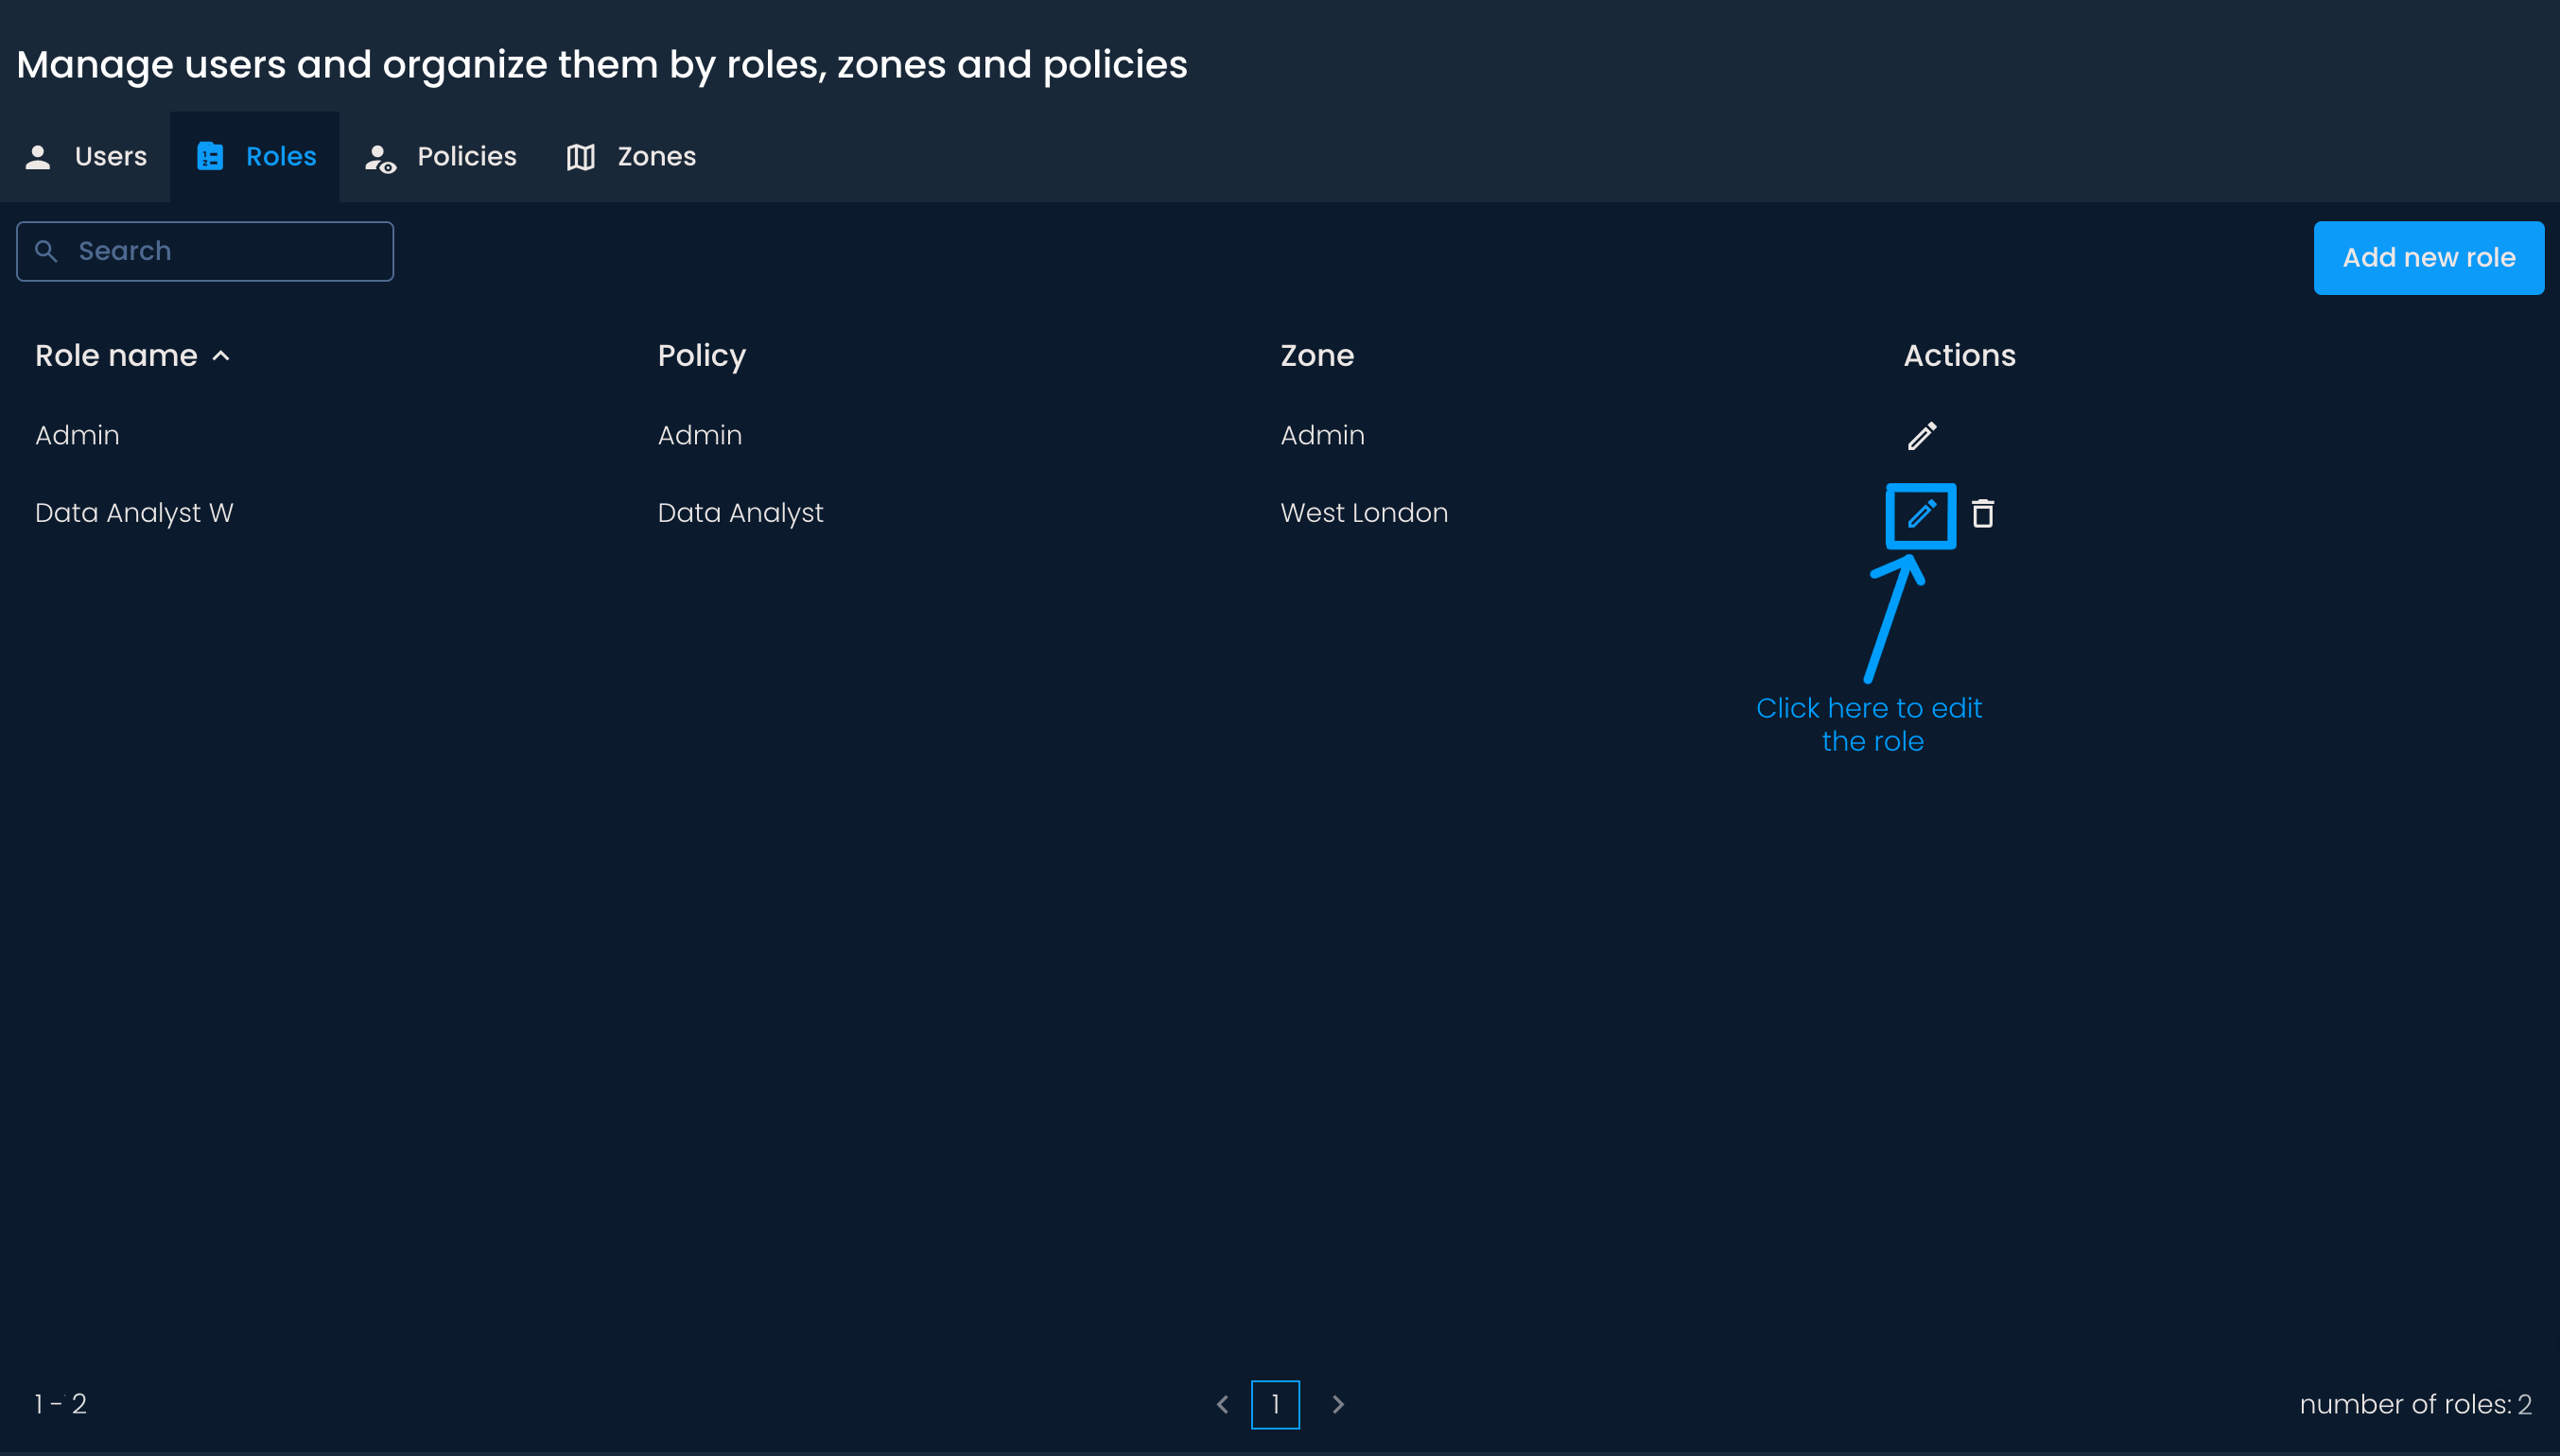
To edit the role, click the pencil icon next to its name in the Actions column.
To delete a role, click the bin icon next to its name in the Actions column, and then press Delete.


If you have previously assigned this role to users, you must assign them a different role before deleting it. In that case, you will receive a notification like the one below.